Beginners Guide to Video Editing: 9 Simple Steps
Video editing is an essential skill for anyone looking to create compelling content. With the right tools and techniques, you can transform raw footage into a polished masterpiece. This guide breaks down the basics into five simple steps: organizing files, mastering software, editing the timeline, adding effects, and finalizing your video.
1. Introduction to Video Editing
Video editing is more than just cutting and pasting clips together; it's about storytelling and creating an emotional connection with your audience. The way you structure scenes, choose transitions, and sync audio can significantly impact how your video is perceived.
Why it's important: A well-edited video can captivate viewers, convey a clear message, and evoke emotions.
Famous styles: Think about Edgar Wright's fast cuts or Wes Anderson's symmetrical shots—each style is a testament to how editing shapes storytelling.
2. Organize Your Files
Good organization is the foundation of efficient editing. Before diving into your project, ensure your files are well-structured.
Folder structure:
Create folders for raw footage, audio, graphics, and exports.
Name files descriptively to avoid confusion (e.g., "Scene1_Take2.mp4").
Backup strategies:
Use cloud storage like Google Drive or Dropbox alongside external drives for redundancy.
Set up auto-backup systems to prevent data loss.
Tools: Solutions like Kyno or Adobe Bridge can help you catalog and manage large amounts of media efficiently.
Common pitfalls:
Avoid dumping all files into one folder—it complicates the workflow.
Always create a "Final Export" folder to separate finished projects.
3. Understand Your Software
Familiarize yourself with your editing tool of choice. Each software has unique strengths:
Adobe Premiere Pro: Industry standard for professionals.
DaVinci Resolve: Excellent for color grading and free features.
Final Cut Pro: Ideal for Mac users.
Key tips for software mastery:
Learn keyboard shortcuts to speed up your workflow. Examples for Premiere Pro:
Ctrl + K: Cut clip.Ctrl + Z: Undo.Alt + Drag: Duplicate a clip.
Customize your workspace to match your needs:
For color correction, focus on the "Lumetri Color" panel.
For audio, use the "Essential Sound" panel.
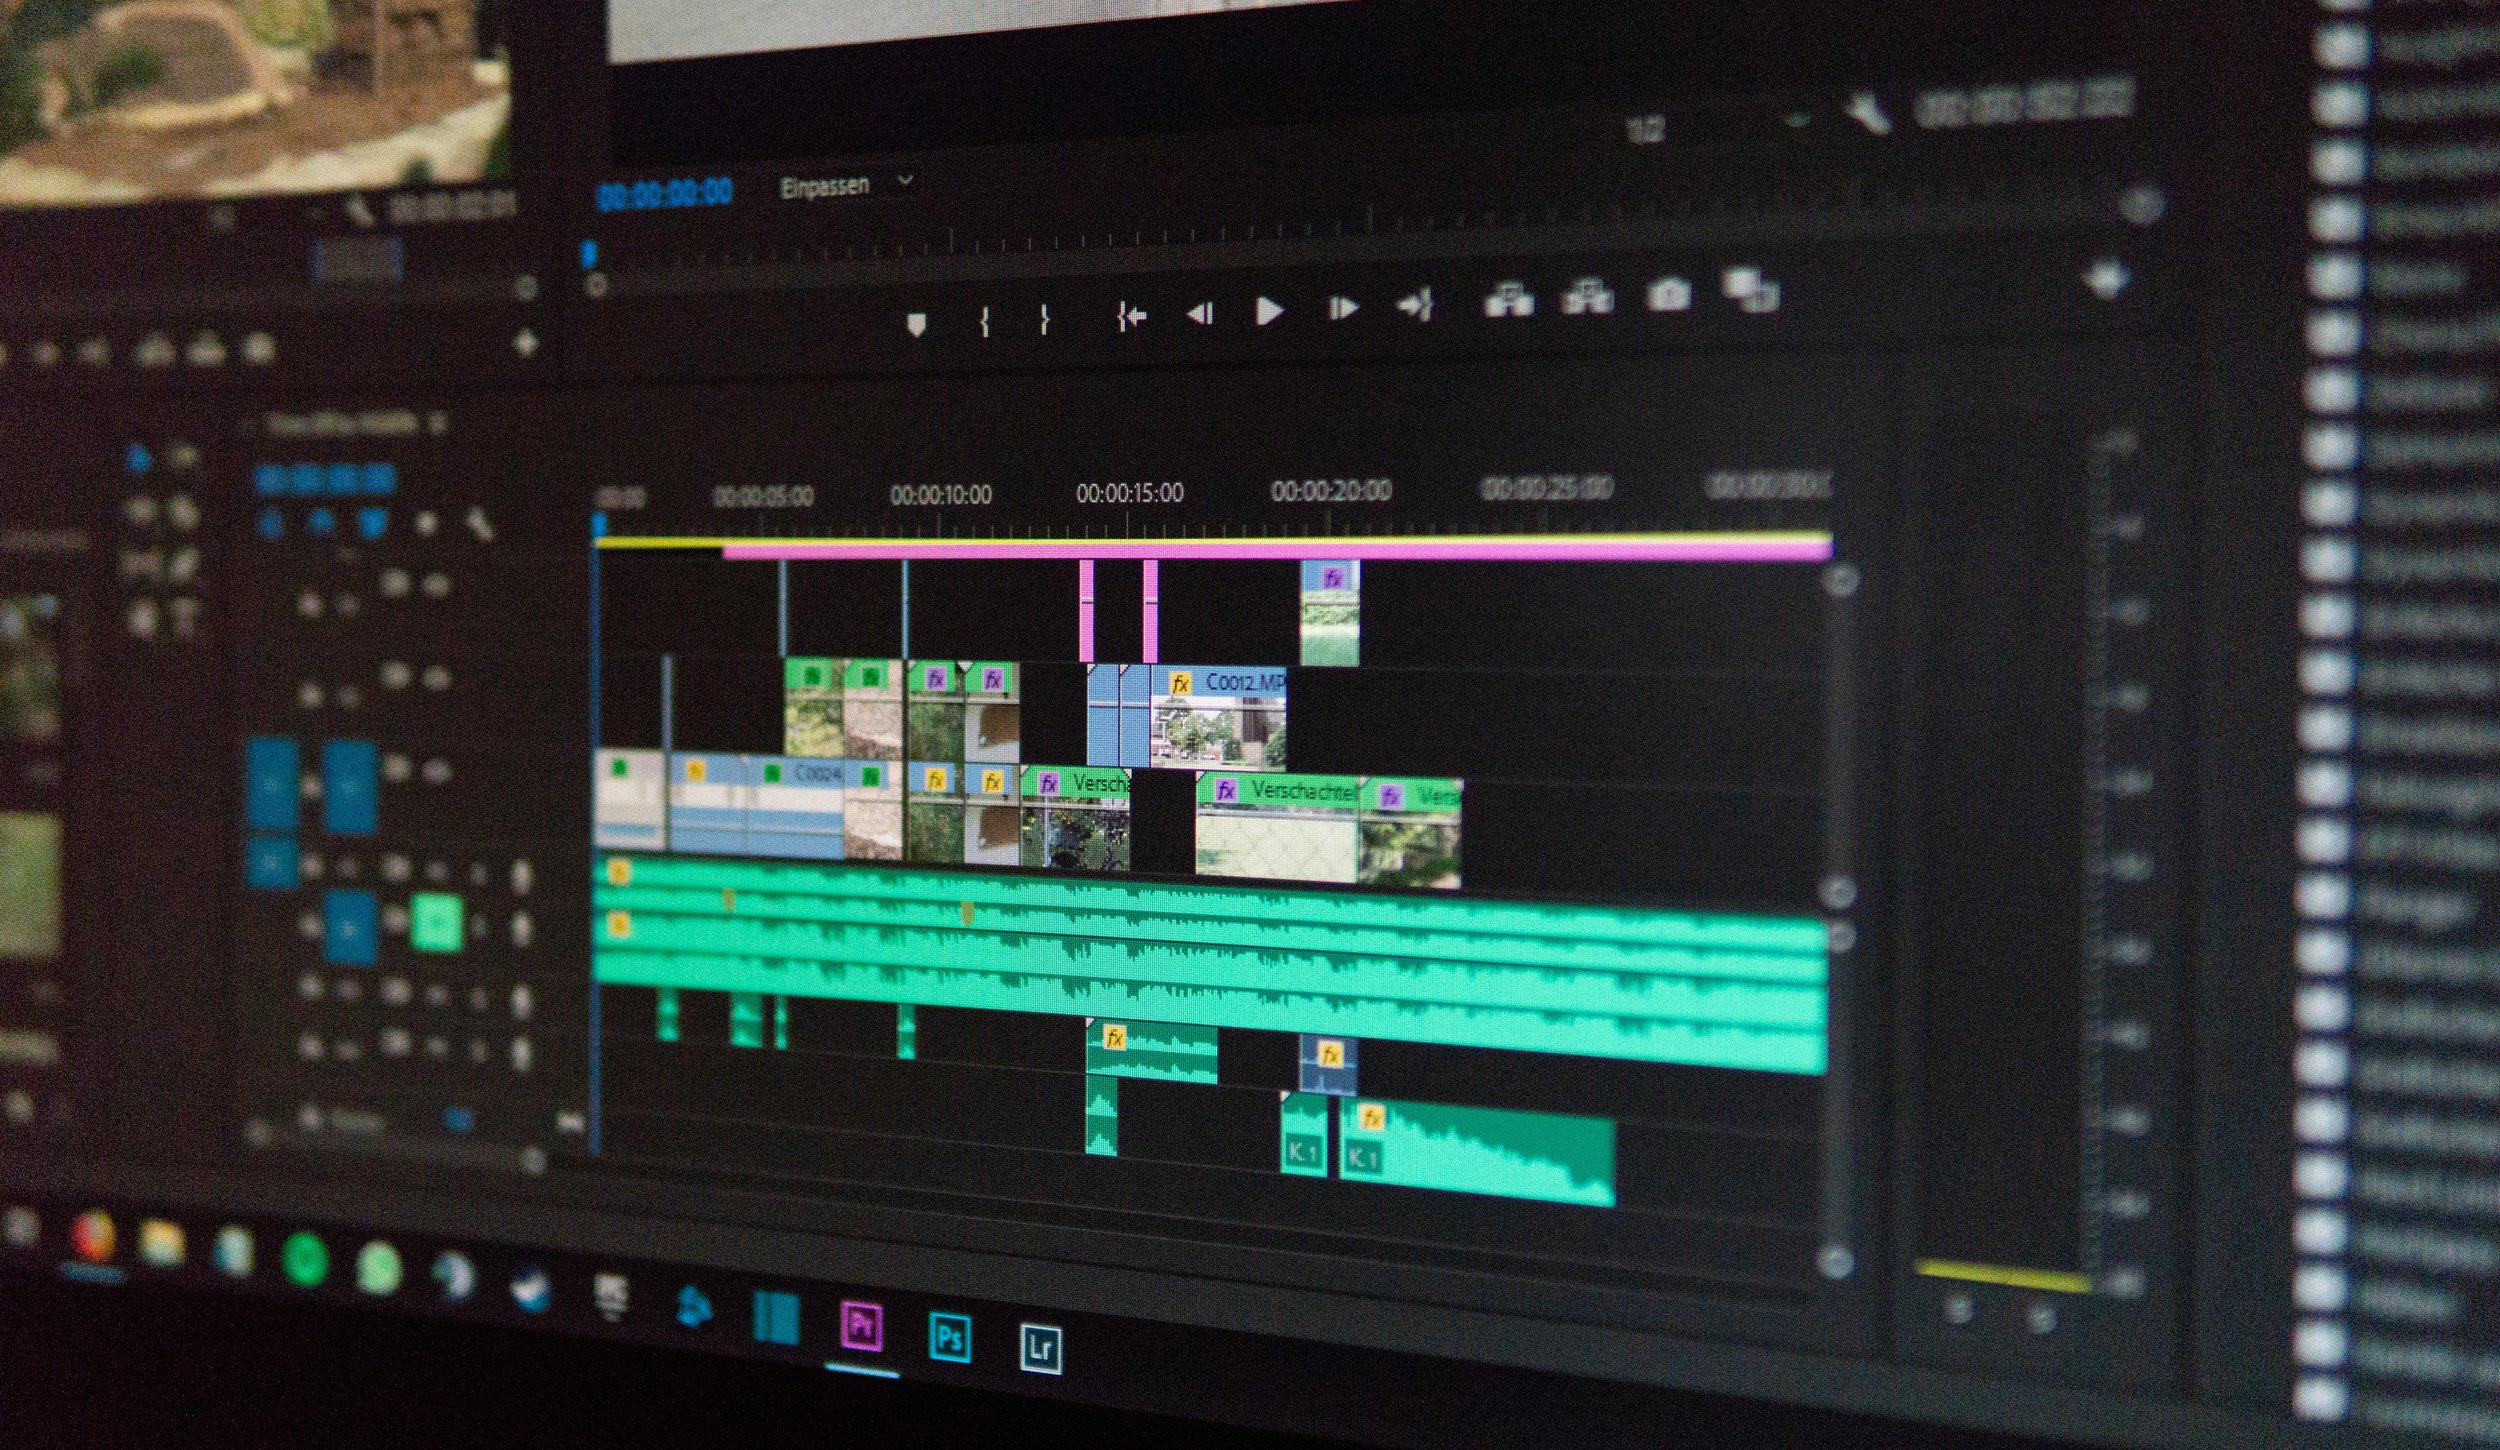
4. Build Your Timeline
The timeline is where your video comes to life. Follow these steps for efficient assembly:
Import clips: Drag your footage into the timeline.
Sequence building: Place your clips in chronological order.
Trim and refine: Remove unnecessary parts using the razor tool.
Add B-roll: Overlay supplementary footage to enhance storytelling.
Advanced techniques:
Montage editing: Quickly convey time or action through fast cuts (e.g., training scenes in sports films).
Match cuts: Transition between scenes with similar visual elements.
Parallel editing: Show two events happening simultaneously for dramatic effect.
5. Enhance with Effects and Transitions
Effects and transitions add polish and creativity to your project, but they should be used thoughtfully.
Popular transitions:
Cut: Simple and effective for storytelling.
Crossfade: Smoothly transitions between clips.
Masking: Create seamless transitions using overlays.
Unique effects:
Apply LUTs for cinematic color grading.
Add "Lens Flare" effects for drama.
Use "Glitch" effects for tech-themed videos.
Plugins:
Explore tools like Red Giant or Boris FX for advanced transitions and effects.
Automate repetitive tasks with preset packs available for your software.
6. Perfect Your Audio
Audio is half of the viewing experience. Ensure it complements your visuals:
Voice recording:
Use high-quality microphones like the Rode NT1 or Blue Yeti.
Reduce background noise with software like Audacity or iZotope RX.
Sound design:
Add ambient sounds to create atmosphere (e.g., birds chirping for outdoor scenes).
Use Foley effects to enhance realism (e.g., footsteps, door creaks).
Audio mix:
Balance dialogue, music, and sound effects.
Apply compression and EQ for professional sound.
7. Master Color Grading and Correction
Color correction ensures consistency, while grading adds mood and style.
Basic steps:
Adjust white balance for accurate colors.
Correct exposure to avoid overly bright or dark areas.
Color grading techniques:
Use warm tones for nostalgic scenes.
Apply teal-and-orange grading for cinematic looks.
Tools:
Leverage "Scopes" (Histogram, Waveform) for precise adjustments.
Experiment with LUTs to achieve professional results.
Pro tip: Calibrate your monitor to ensure accurate color reproduction.
8. Export Your Video
Exporting is the final step before sharing your masterpiece. Tailor your settings to your platform:
Common platforms:
YouTube: Use H.264 codec, 1920x1080 resolution, 30fps.
Instagram: Square (1080x1080) or vertical (1080x1920) formats.
Compression tips:
Maintain quality while reducing file size with tools like HandBrake.
Test different bitrates to balance quality and file size.
9. Keep Learning and Improving
Video editing is a skill honed over time. Practice with these strategies:
Replicate famous scenes: Recreate an iconic movie sequence to understand editing decisions.
Participate in challenges: Join online communities that provide free footage for editing contests.
Expand your tools: Experiment with lesser-known software like HitFilm for effects or Descript for audio transcription.
Storyboarding: Plan your projects visually before filming to streamline the editing process.
Conclusion
Video editing combines technical know-how with artistic expression. By mastering the basics and continuously refining your skills, you can create videos that leave a lasting impact. Ready to elevate your projects? Dive into our cinematic LUTs and tools at Cinematic Doors to give your videos a professional edge!


